Affiliate Disclosure: As an Amazon Associate, we earn from qualifying purchases. Clicking our links costs you nothing extra and helps us keep reviewing products for free.
By Best Kitchen Picks Daily • September 03, 2026 • Contains affiliate links
Harvest season is the busiest stretch of the year in any home kitchen. Bushels of tomatoes need peeling and coring, winter squash needs splitting, apples need slicing for sauce and pie filling, and hundreds of pounds of cabbage, carrots and peppers have to be broken down before they spoil. A dull chef's knife turns that abundance into a chore — and a dangerous one, because a blade that slips off a squash rind is far more likely to find your knuckle than a sharp one that bites in cleanly.
The good news is that restoring a truly keen edge doesn't require years of freehand stone practice. A wet grinder does the heavy lifting for you, and the name most serious cooks and woodworkers land on is Tormek. Their water-cooled sharpening systems pair a slow-turning stone with precision jigs that hold your knife at a repeatable angle, so every pass removes exactly the metal you intend and nothing more.
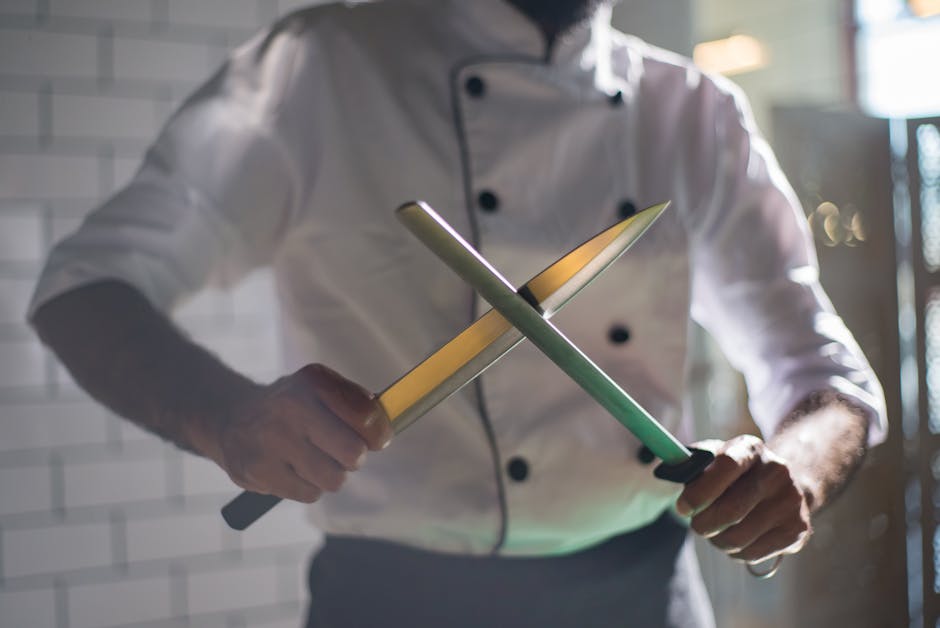
When selecting a knife sharpener for harvest season, choose one that matches your knife types and skill level—whetstones offer precision for experienced users while pull-through sharpeners provide convenience for beginners, and honing steels are essential maintenance tools that complement either method.
In this guide we'll walk through a complete harvest-season sharpening session, from triage on your knife block to the final leather strop, using a Tormek wet grinder as the centerpiece. Set aside an hour, and you'll head into canning week with a set of blades that glide.
Why a Wet Grinder Beats Pull-Through Sharpeners at Harvest Time
Pull-through V-sharpeners and cheap electric belt units work by scraping metal away fast and hot. Speed is the problem: friction heat draws the temper out of the steel at the very edge, so the knife feels sharp for a day and then rolls over the moment it hits an acorn squash. A Tormek wet grinder runs its grindstone slowly through a water trough, which keeps the edge cool, prevents burning, and controls dust. Because the machine removes metal gradually and predictably, a $200 Japanese gyuto and a $30 workhorse paring knife both get the same careful treatment. Over a canning season where you may touch up the same blades five or six times, that conservative metal removal is the difference between a knife that lasts a decade and one that's ground down to a letter opener.
Step-by-Step: Sharpening Your Kitchen Knives on a Tormek
1. Sort and inspect. Lay out every knife you'll use for the harvest push: chef's knife, santoku, boning knife, two or three paring knives, and a serrated bread knife. Run each edge across your thumbnail — if it skates instead of catching, it needs work. Note any chips or rolled tips.
2. Fill the water trough and true the stone. Top up the reservoir so the stone runs wet from the first pass. If the grindstone surface has grooves from previous sessions, dress it flat with the stone grader or truing tool; a flat stone gives a flat bevel.
3. Mount the knife in the jig. This is where Tormek earns its reputation. Clamp the blade in the knife jig, set the universal support bar, and use the angle master gauge to dial in your target bevel — typically 15° per side for Japanese-style thin blades and 20° per side for German and general-purpose Western knives. Once set, the angle is identical on pass one and pass forty.
4. Grind the coarse bevel. Draw the knife smoothly across the stone from heel to tip, letting the jig ride the support bar. Use light, even pressure and count your passes so both sides get equal treatment. Work until you can feel a continuous burr along the entire opposite edge — that burr is proof the two bevels have met.
5. Refine with the stone grader. Press the fine side of the stone grader against the wheel to convert it to a finer effective grit, then repeat your passes with lighter pressure. The scratch pattern will smooth out and the burr will shrink.
6. Strop on the leather honing wheel. Charge the leather wheel with honing compound and run each side of the blade against the wheel's direction of rotation, matching the same bevel angle. Six to ten light passes per side removes the burr and polishes the apex to a mirror. The knife should now shave paper cleanly and push-cut a tomato under its own weight.
Angles, Grits and Steel: Matching Your Setup to the Job
Harvest work is varied, and your edges should reflect that. A thin 15° edge is glorious on tomatoes, peppers and apples but will chip if you use it to hack through butternut squash necks. Keep one heavier chef's knife at 20° per side as your squash-and-cabbage workhorse, and reserve the acute edges for soft produce. Because the Tormek system records and reproduces angles exactly, you can maintain different geometries across your block without guesswork — and get back to each one months later. The same machine and support bar also accept jigs for scissors, axes, chisels and plane irons, which is why Tormek sits in so many woodworking shops as well as kitchens. If you're prepping garden tools for the same season, one setup handles the pruners and the paring knives alike.
Maintaining the Edge Through Canning Week
Sharpening isn't a one-time event during harvest. After the initial full sharpening, the goal is to never let the edge get dull again. Strop each knife on the Tormek leather wheel for thirty seconds at the end of every long prep day — it takes almost no metal off and resets the apex. Wash and dry blades immediately after cutting acidic produce like tomatoes and apples, since fruit acids pit carbon steel fast. Cut on end-grain wood or soft poly boards, never glass or stone. And keep knives out of the sink and out of drawers where the edges bang together. Do those four things and one thorough grinding session should carry you from first tomatoes through the last of the winter squash.
Pros & Cons
Pros
✓ Water-cooled grinding keeps the blade cool so the steel never loses its temper
✓ Precision jigs and the angle gauge deliver a repeatable, identical bevel on every pass
✓ One machine sharpens kitchen knives, scissors, chisels, plane irons, axes and garden tools
✓ Built-in leather honing wheel takes the edge from sharp to polished without a separate strop setup
Cons
✗ Significant upfront investment compared to a pull-through sharpener or a single whetstone
✗ Slow-speed grinding and jig setup take longer than a quick freehand touch-up
Our Verdict
If you process a real harvest — not a few tomatoes, but bushels of them — a wet grinder pays for itself in saved time, saved knuckles and knives that survive a decade of hard use. Tormek remains our top recommendation because the jig system removes the single hardest part of sharpening, holding a consistent angle, and the water-cooled stone means you can't ruin an expensive blade with heat. Add the fact that the same machine handles woodworking chisels, pruners and shears, and it stops being a knife sharpener and becomes the sharpening station for your whole house. Set it up before the first pick, and every knife in your block will be ready when the crates start arriving.
What angle should I sharpen my kitchen knives to for harvest prep?
Use 15 degrees per side for thin Japanese-style knives handling tomatoes, apples and peppers, and 20 degrees per side for Western chef's knives that will tackle winter squash, cabbage and root vegetables. The Tormek angle master gauge lets you set either precisely and return to the same setting later.
How often should I sharpen knives during canning season?
A full sharpening at the start of the season is usually enough, followed by 30 seconds of stropping on the leather honing wheel at the end of each heavy prep day. If a knife stops push-cutting a ripe tomato skin, it's time for another pass on the stone.
Can a Tormek wet grinder sharpen serrated bread knives and other tools?
Yes. With the appropriate jig, a Tormek system sharpens serrated blades, scissors, axes, pruners, wood chisels and plane irons in addition to kitchen knives, which makes it useful well beyond the kitchen during harvest and workshop season.
Our team reviews cookware, appliances, and kitchen gadgets for home chefs so you don't have to. Every recommendation is based on real research: customer reviews, expert opinions, and value for money. Learn more about us →
This post contains affiliate links. We may earn a commission if you purchase through our links at no extra cost to you.